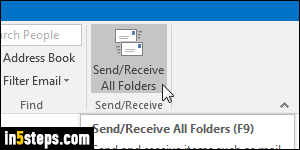
By default, Microsoft Outlook checks for new messages at launch, and every 30 minutes thereafter. You can manually check for new emails by clicking Send/Receive All Folders in the ribbon, or by hitting the F9 key. You can also change that frequency in your send/receive settings. I used Outlook 2016 in this tutorial, but the steps are the same in Outlook 2013 and Outlook 2010!
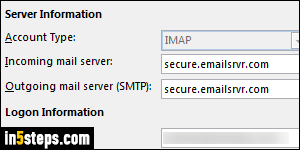
Outlook checks for new messages on a per-account basis, in groups: you could check important email accounts from one group every minute, and another one every 2 hours. This setting only affects POP accounts, because new mail automatically gets "pushed" to IMAP accounts (unless you're working offline). When you add email accounts in Outlook, you can choose the protocol.
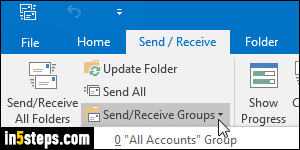
From Outlook's main window, click on the Send / Receive tab. Then, click on the Send / Receive Groups dropdown button, and select "Define Send / Receive Groups" at the bottom. If you only have one email account, or want the same frequency for all of them, increase or decrease the number of minutes under "Schedule an automatic send/receive every", and click Close.
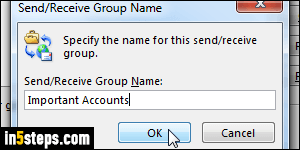
To use different send/receive settings for different accounts, click on the New button at the top, pick a name for that group, and click OK. Go through each email account on the left, and check or uncheck the corresponding "Include the selected account in this group" checkbox. Click OK to create the group.
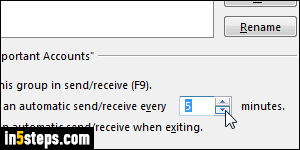
Select the group whose frequency you want to change, and pick the number of minutes Outlook should wait before a new mail check for accounts in that group. By default, the number of minutes in offline mode is disabled: you can force Outlook to work offline, even with an active internet connection. If you specify an offline timer to send/receive, accounts in that group will check for new emails even when Outlook is working offline! Click Close to save.

