

There are several ways in which the contact cell phone number you've associated with your Google account can be used. Aside from Google staff contacting you (concerning AdWords, AdSense, etc.), it is -or can be- used for two-factor authentication, resetting a forgotten password, etc. That's why it's important to keep that number up-to-date - besides, it's very easy to change!
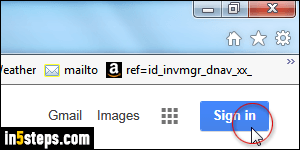
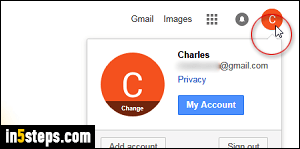
Go to Google.com: if you are logged in, click on your user icon in the top right corner of the page. It shows either your first name's first letter, or your picture if you've set one up in Google+. Otherwise, click Sign out and log back in, or click on the blue Sign in button if no account is currently logged on. Once you've clicked on your user icon, click on the blue My Account button.
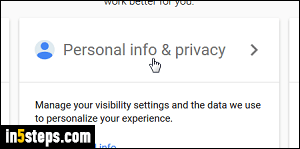
On the next page, click on the "Personal info & privacy" box in the middle.
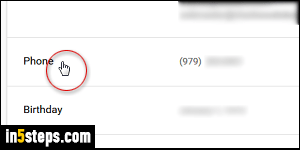
Now scroll down and click on Phone (fourth item from the top).

Click on the pencil icon / button on the right of the cell phone number you'd like to change. Google includes on that page a couple privacy-related settings you can tweak. For security reasons, Google will ask you to reenter your password: if prompted, do so. Click Update number to change that phone, or click Remove number to dissociate it (temporarily or permanently) from your Google account. Follow the verification steps to confirm your new number.