

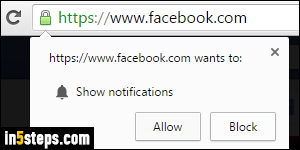
Like Firefox, Google Chrome supports website notifications: these are popups that websites and web apps can generate to attract your attention even if they're not currently the foreground (active) browser tab. The most popular notifications, which you probably already came across, are the ones Facebook uses. Until you allow or block them, Chrome will show a message like "facebook.com wants to show notifications", like on the screenshot.
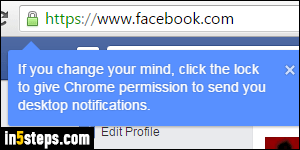
If you click Allow, Facebook (or whatever website or web app you just authorized) will always be able to show you notifications. Clicking Block will not only disallow notifications, but also tell Chrome never to show you the confirmation message pictured in step 1. Whatever you choose can be changed later on in settings, as explained in the last two steps of this tutorial. And clicking the lock (in this case) can let you re-enable desktop notifications.
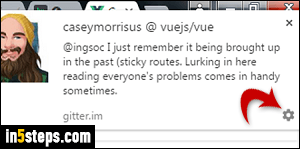
If you've allowed notifications, you'll get a popup that looks like the one in the screenshot. Notice the gear icon in the lower right corner of that notification? Clicking on it opens a dialog in your Chrome settings that shows all sites that requested permissions for notifications, which you've either allowed or denied. From that dialog, you can change that permission back to Allow or Block!

You can manually customize Chrome notifications at any point: click on the hamburger menu (three horizontal bars, in the top right corner), and choose "Settings". Type the word notifications in the search box to quickly filter your options, and click on the Content settings button. Then, scroll down to the middle of that screen - the notification options are highlighted in yellow.
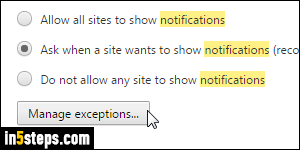
Select to Allow all sites to show notifications (not recommended, since this feature can easily be abused), or to not allow any site to show notifications - here too, keep your options open - you can always manually deny them by keeping the default (Ask when a site wants to show notifications). Clicking on the Manage exceptions button opens the dialog mentioned in step 3. Once done configuring your preferences, you can close the chrome://settings/ tab.