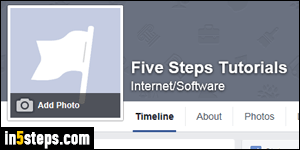
Just because you've launched a new Facebook page doesn't mean that you have to stick with the original name, or event the URL (internet / web address) automatically generated for it. This tutorial shows you how to change the name of an existing Facebook page, and even change its URL after the fact. For your personal account, see the "change your name on Facebook" tutorial instead!
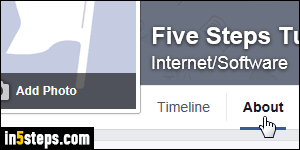
First, go to that page while logged into the Facebook account that manages it.
Once you are on that page, click on the About link next to the logo / picture at the top (a flag, by default - you can see both on the screenshot in Step 1).
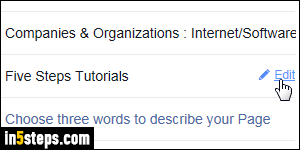
The next screen shows your "Page Info": category, name, topics (etc.) on the right. Mouse over the current page name on the right, and click on the Edit link that appears. Type a new name for your page, and click "Save Changes".
Note: you won't lose any likes by changing a page's name or URL! That's because only the numbers you see in the address bar matter. The letters are just there for human consumption. (You can test this for yourself :)
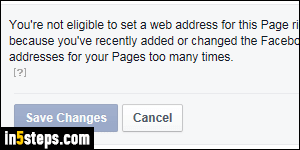
Let's now change the page's URL (internet address). Still on that same screen, do you see a "Enter a Facebook web address" link? If so, click on it: it's likely that the page is still too new to have its web address changed. If you see the "You're not eligible to set a web address for this Page right now..." message, try to make that change later - otherwise, read the next step.
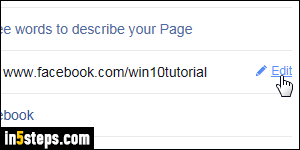
On a regular, established page, or one that allows changing the URL, mouse over the current address and click on "Edit". Click "Change web address", and update your URL on the next page (leave as-is the "www.facebook.com/" part or the URL). Click on "Check Availability", and follow the steps outlined.

