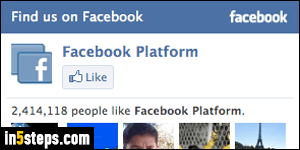
The "Like Box" (screenshot on the right), has since been deprecated by Facebook. But you can still get it: it's now called a "Page Plugin". Basically, an HTML <div> tag showing who likes your page, with the same option types: custom width / height to fit your content, ability to show people's faces, etc.
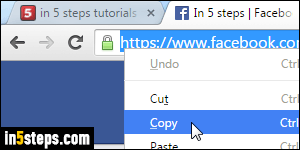
First, go to the page for which you want to create a like box, and copy its URL (web address) from the address bar. If there is a question mark in the URL, remove it, as well as everything that comes after it: these are "arguments", or "parameters", used to perform various tasks. No need for them in our case!
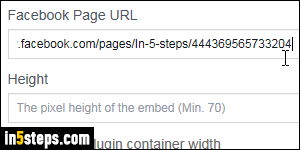
Now that you've copied the page's location, go to the "Page Plugin" generator on facebook.com. In the box that contains the blue "Get Code" button, erase the default URL and paste instead the one you just copied: make sure that it starts with https:// and that it ends with numbers. (Letters are just there for humans: only the numbers are used by Facebook to open the correct page!)
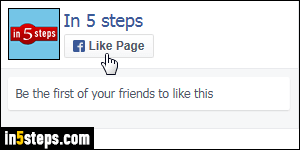
To customize the look: optionally type a fixed width (180 to 500 pixels), and/or height (70+ pixels). If you are using a fixed width, uncheck "Adapt to plugin container width", which makes the box as wide as possible.
If you check "Hide Cover Photo", you can also check the "Use Small Header" checkbox, so that it doesn't look disproportionately high! Depending on vertical space available, check "Show Friend's Faces" and "Show Page Posts".
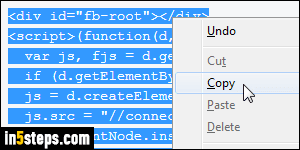
Double-check all your options, and make sure that your like page plugin looks OK. Click on the "Get Code" button at the bottom to generate the HTML and JavaScript you need. Place the HTML part where you want it to appear on your blog or website. The <script> tag can be placed at the very bottom of the page (performance-wise, it's better to load scripts as late as possible!)

